For our cousin's wedding we created the tableau with the table plan.
Visualizzazione post con etichetta wedding. Mostra tutti i post
martedì 8 luglio 2014
WEDDING TABLE PLAN
Per il matrimonio della cuginetta abbiamo anche realizzato il tableau con la disposizione dei tavoli e degli invitati.
For our cousin's wedding we created the tableau with the table plan.

For our cousin's wedding we created the tableau with the table plan.
sabato 5 luglio 2014
A CUTE ALTERNATIVE TO PLACE HOLDERS
Per il suo matrimonio mia cugina ha deciso di non mettere i segnaposto, ma voleva ad ogni modo fare qualcosa di carino. Così abbiamo trovato quest'idea carina. Creare questi cuoricini con la carta, e con i semi dentro, da piantare e far nascere dei fiori.
For her wedding my cousin decided to not put placeholders, but she wanted to do something cute anyway. So we found this nice idea. To create little hearts with paper, and seeds within, to plant and have flowers to grow.
domenica 29 giugno 2014
KIDS SACHET FOR WEDDINGS
Quando ci siamo incontrate con nostra cugina per parlare dell'aspetto DIY del suo matrimonio una delle prime cose che le abbiamo chiesto è stata "Quanti bambini ci saranno?".
E' risaputo, i bambini non si divertono per niente a stare seduti a tavola, soprattutto se appena finiscono di mangiare non hanno davanti il prossimo piatto!!
Così le abbiamo proposto quest'idea carina, per distrarli e per aiutare i poveri genitori a contenterli almeno per un pò!
When we first met with our cousing to talk about the DIY side of her wedding one of the first things that we asked was "How many kids there will be?".
It's known, kids don't like sitting at the table, specially if they don't have a new dish under their noses as soon as they've finished the first one!!
So we suggested her this cute idea, to distract them and to help the poor parents to keep them for a little while!
Non sono molti i materiali necessari: dei pezzi di iuta (i nostri sono di 15x20 cm), forbici, spago, velo termoadesivo (ma se avete anche la macchina da cucire è meglio!).
Not many materials are needed: some burlap pieces ( ours are 15x20 cm), scissors, twine, fusible veil (but if you have the sewing machine is even better!).
Per prima cosa bisogna piegare in due la iuta e attaccare con il ferro da stiro il velo termoadesivo, ma se vedete che non attacca bene vi consiglio di cucire con la macchina da cucire, con un punto zig zag.
Fate attenzione: dovete cucire solo due lati, altrimenti il sacchetto non funzionerà come deve!
First of all you have to fold in half the burlap and iron the fusible veil, but if you seen that it doesn't stick well I suggest you to give it a stitch with the sewing machine, using a zig zag stitch.
Careful: remember that you only need to sew two sides of it, or the sachet won't work as it must!
Una volta pronto il sacchetto, con l'aiuto di un ago un pò grosso, ho passato tra i buchi della iuta lo spago. Io ne ho usato uno in un iuta, ma potete benissimo usarne uno colorato, cosa alla quale io ho pensato troppo tardi! Mannaggia a me!
Once the sachet's ready, with a big needle, let the twine go through the holes of the fabric. I used a jute one, but you can use a coloured one, which is something I didn't think of until it was too late! Bummer!
Beh, presto fatto! Basta poi metter dentro quello preferite, per esempio qui dentro c'erano un quadernino, delle matite e una collana di caramelle, che desideravo da un sacco di tempo, quindi quelle avanzate me le sono tenute!! Muahahaha!!! Feddy
Well, that's done! You only need to fill it with what you like best, for example we had a little notebook, some pencils and a candy necklace, which is something that I wanted for a very long time, so I kept the ones leftover! Muahahaha!!! Feddy
P.S.:assicuratevi di seguirci su FACEBOOK e su BLOGLOVIN'!!!
P.S.:make sure you follow us on FACEBOOK and BLOGLOVIN'!!!
Etichette:
DIY,
Feddy,
kids enternaiments,
wedding
lunedì 23 giugno 2014
TO A WEDDING WE WENT...
Sabato è stato il giorno del matrimonio di mia cugina! Finalmente!
E com'era bella!!! E' stata una giornata fantastica!!!
Volevo solo condividere con voi qualche foto di questa bellissima giornata!!
Saturday was my cousin's wedding day! Finally!
And gosh she was beautiful!!! It was an amazing day!!!
I just wanted to share with some pictures of this gorgeous day!!!
martedì 17 giugno 2014
PIRKKA FLOWERS FOR THE WEDDING
Così ha deciso di usare la pirkka per decorare la ringhiera della scala interna di casa sua e il tableau (del quale vi parlerò più avanti).
Per la scala ho realizzato dei fiori molto semplici ma di effetto usando 3 diversi tipi di pirkka sottile ( bianco, rosa cipria e rosa antico).
For the upcoming wedding of my fave cousin I offered to help her with decorations.
She's decided to use pirkka to decorated the banister inside her house and the table plan ( I'll talk about it soon).
For the stairs banister I made simple flowers but of nice effect using 3 different tipes of thin pirkka (white, powder pink and antique pink).
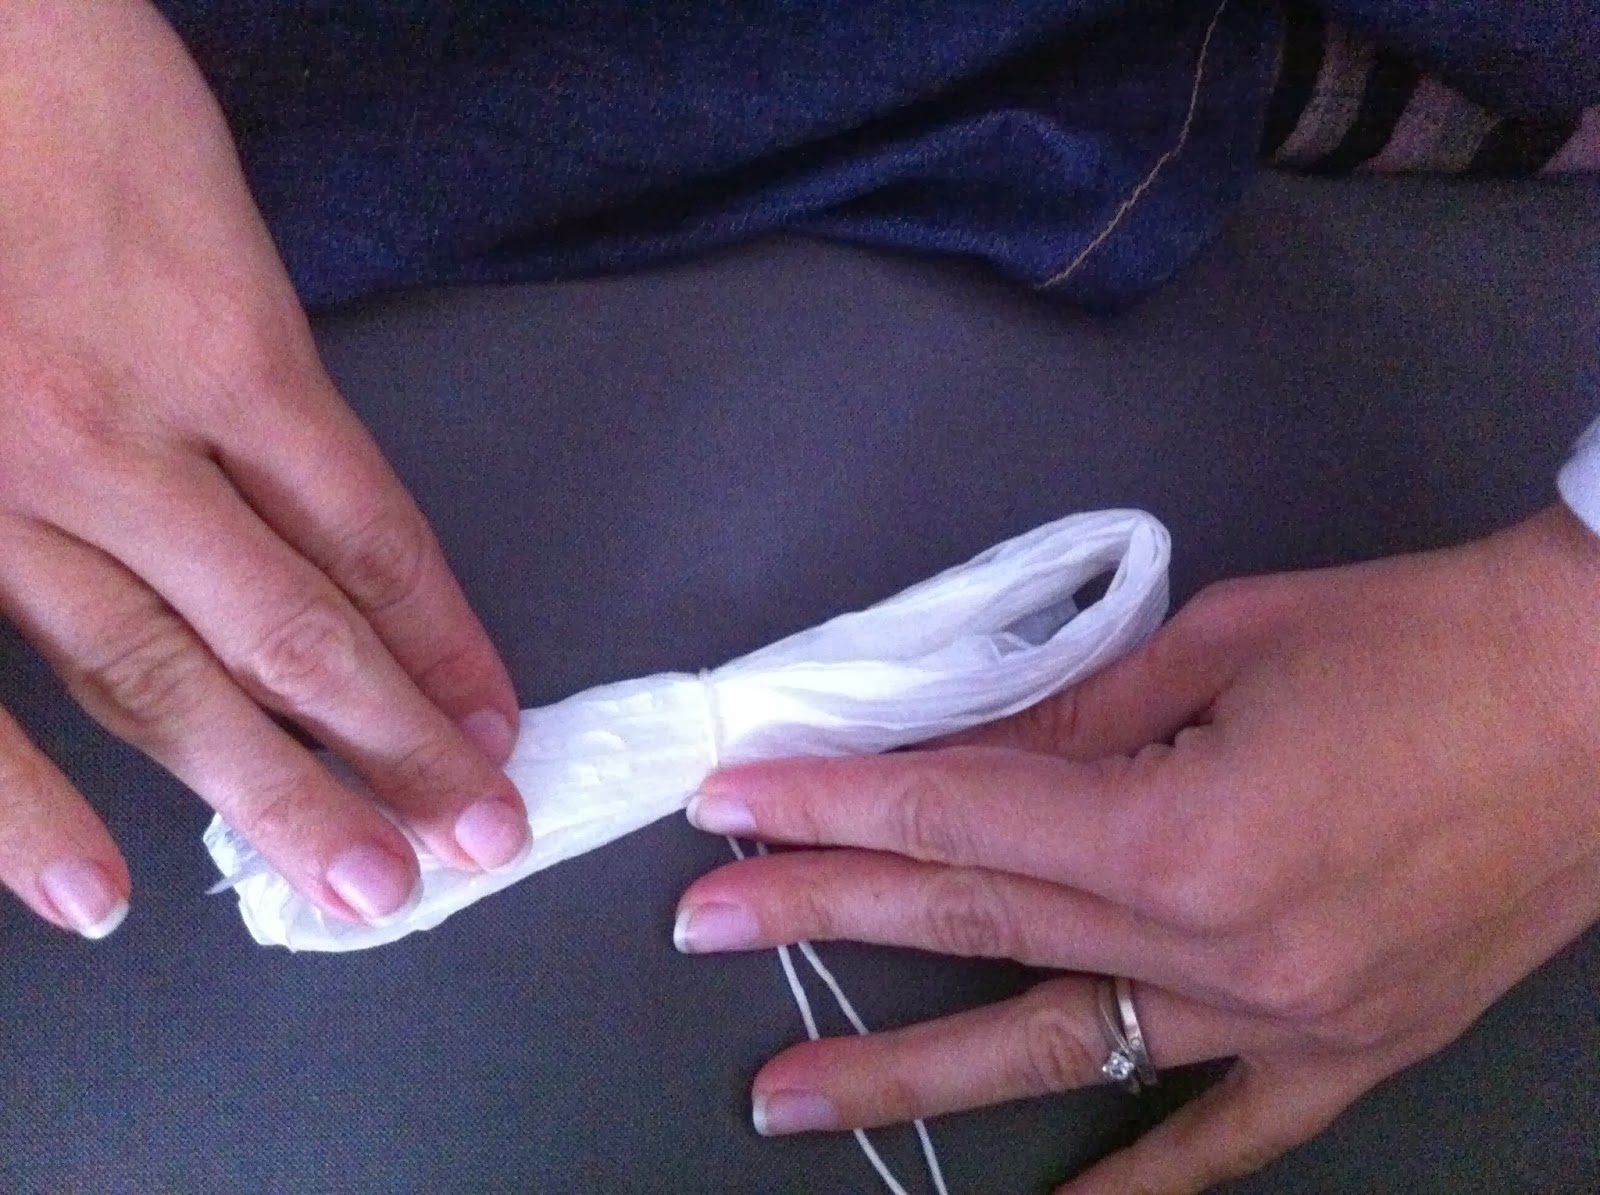
Per ogni colore ho tagliato un pezzo da 2 metri e l'ho aperto, con questo metodo. Per comodità (e anche per averli tutti uguali) ho arrotolato il filo aperto su un libro del Nano e l'ho legato al centro con un pezzo di spago (circa 50 cm). Una volta realizzati tutti i pezzi li ho uniti, uno per tipo, facendo un nodo unico con tutti gli spaghi e ho aperto i petali.
For each colour I cut a 2 mt piece and opened it, with this method. To make the process easier ( and to have them all on the same lenght) I rolled the opened thread up on one of the Kid's book and tied it at the center with some twine ( about 50 cm). Once I made them all I united all the pieces, one each, making a knot including all twines and opened the petals.
| Beh, disfare la matassa è un casino!!! Well, to unravel the tangle is a big mess!!! |
The decoration will realized wrapping some burlap of around 5 cm around the banister of the stairs and fixing pirkka flowers with a regular distance.
Il matrimonio sarà questo sabato quindi molto presto vedrete il risultato finale!!! Ale
The wedding it's going to take place this saturday so I'll let you soon see the final result!!! Ale
P.S.:assicuratevi di seguirci su FACEBOOK e su BLOGLOVIN'!!!
Etichette:
Alessia,
DIY,
pirkka,
wedding,
wedding decoration
Iscriviti a:
Post (Atom)